Note
Click here to download the full example code
Adding Custom Models for ADC Analysis
This example will guide you throw defining and using a custom model for ADC analysis.
In order to add a new model, we can inherit from trait2d.analysis.models.ModelBase.
from trait2d.analysis.models import ModelBase
Here, we define a simple model for Brownian diffusion (which is the same as the one already provided with the library).
You need to provide default values for the model parameter bounds and initial values as well as the model formula inside the __call__ method.
You can also access R (point scanning across the field of view) and dt (time interval between track localisations) which are defined in the base class.
import numpy as np

class ModelBrownian(ModelBase):
    lower = [0.0, 0.0]
    upper = [np.inf, np.inf]
    initial = [0.5e-12, 2.0e-9]

    def __call__(self, t, D, delta):
        return D+delta**2/(2*t*(1-2*self.R*self.dt/t))
After we’ve defined the model, we can simply add it to the trait2d.analysis.ModelDB.
from trait2d.analysis import ModelDB
ModelDB().add_model(ModelBrownian)
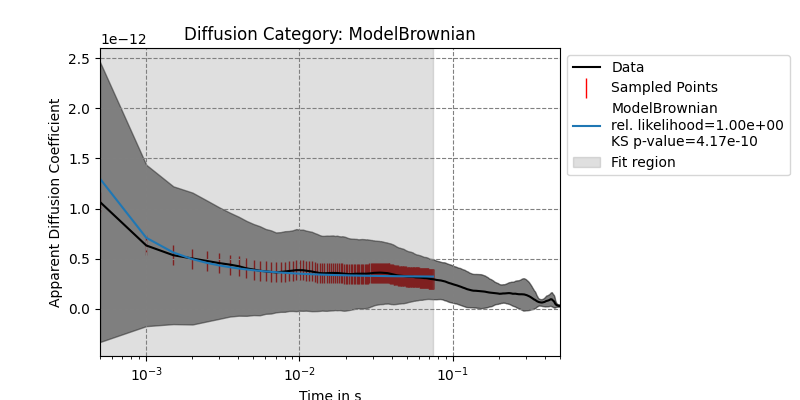
We can now run ADC analysis with the model.
from trait2d.analysis import Track
track = Track.from_file("track1.csv", unit_length='micrometres')
track.adc_analysis(fraction_fit_points = 0.15)
track.plot_adc_analysis_results()

It is a good idea to use ModelDB().cleanup() at the end of your notebooks to remove all models again. Otherwise they may carry over into other open notebooks.
ModelDB().cleanup()
Total running time of the script: ( 0 minutes 0.299 seconds)